Selecting a lab benches with shelves requires balancing three factors: load capacity, space layout, and budget. Prioritize steel frames with epoxy coatings and adjustable shelves for cost-effectiveness. Regular maintenance lab benches can extend lifespan by 3-5 years.
一. Why labs need lab benches with shelves?
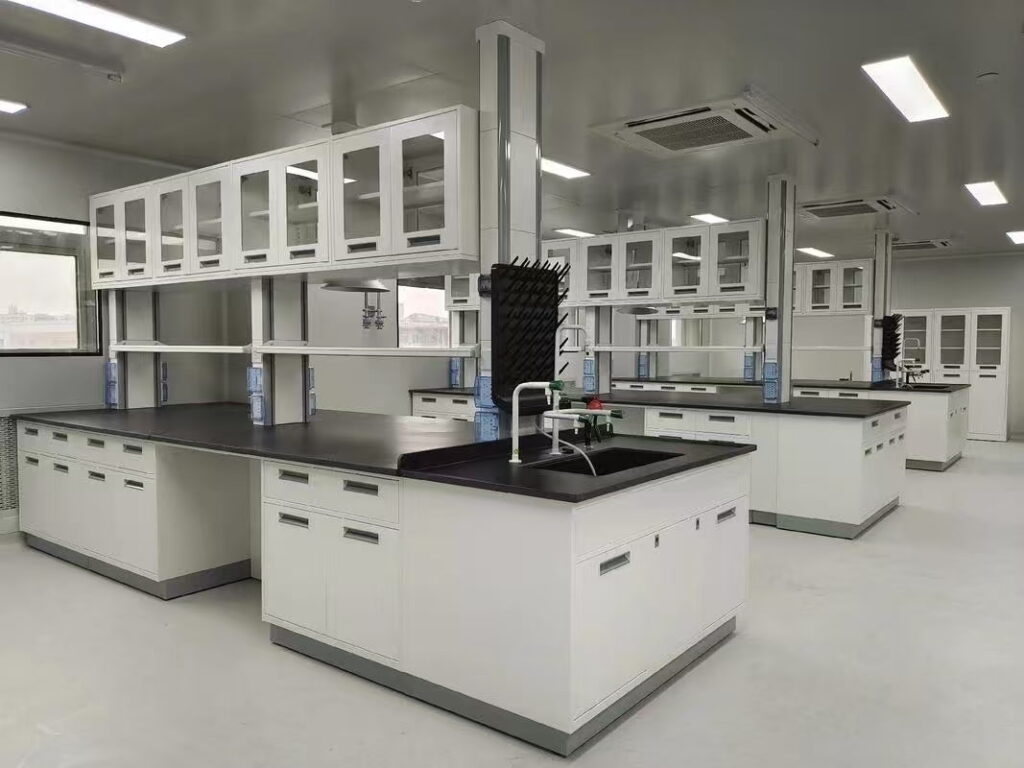
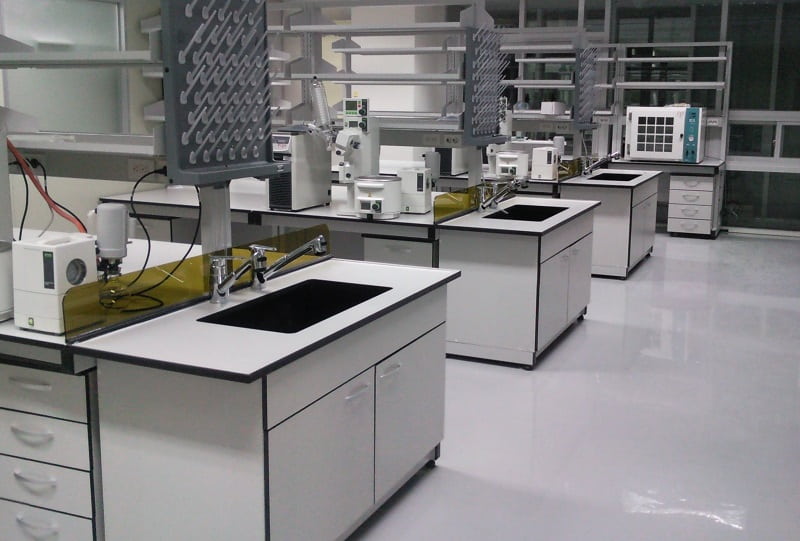
Shelved lab benches are essential for maximizing space efficiency, especially in labs with heavy reagent and equipment usage.
1. 3 Core Advantages of Lab Benches with Shelves:
Space optimization: Saves 30%+ floor space via vertical storage.
Easy access: Keeps frequently used tools/chemicals within reach.
Safety: Separate hazardous materials (e.g., acids vs. bases) on different shelves.
2.Who Needs lab benches with shelves?
Chemistry labs: Store glassware and reagent bottles.
Biology labs: Organize petri dishes and test tubes.
Teaching labs: Enable quick access to supplies for students.

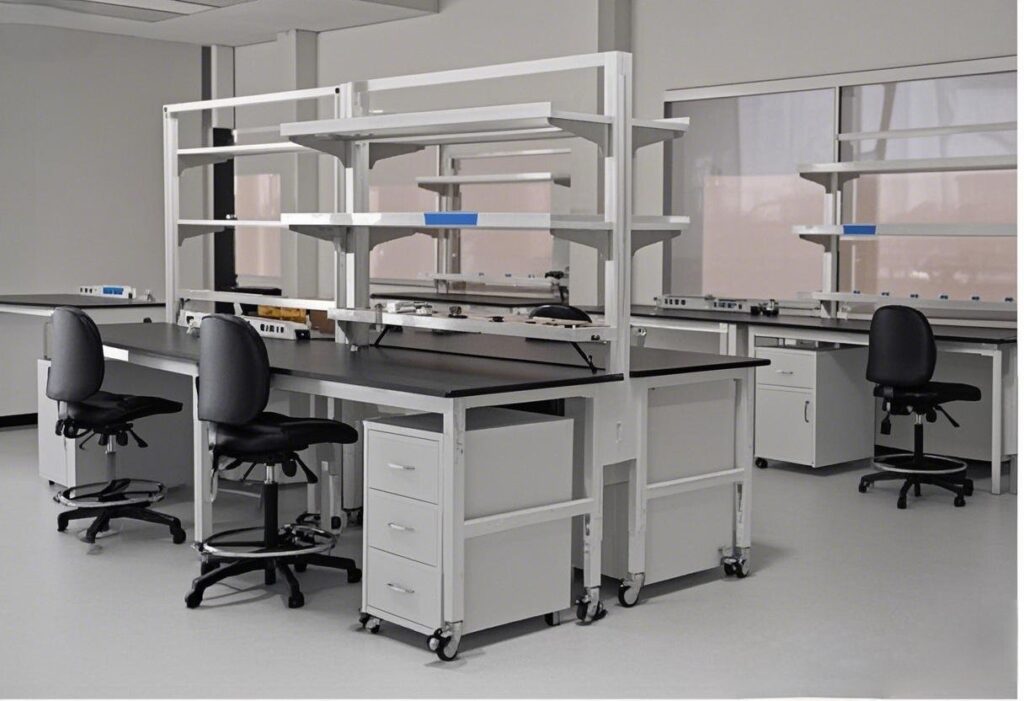
二. 3 Types of Shelved Lab Benches with Shelves
1. Steel-Wood Composite (Budget-Friendly)
Frame: C-shaped steel + melamine-coated shelves.
Load: 80-120 kg/shelf (ideal for standard reagents).
2. All-Steel (Heavy-Duty)
Frame: H-shaped steel + steel shelves.
Load: 200-300 kg/shelf (supports large equipment).
3. Stainless Steel (Cleanrooms)
Frame: 1.0mm 304 stainless steel.
Load: 250-300 kg/shelf (corrosion-resistant).
三. 5 parameters you must look at when choosing a lab bench with shelves
1. Load Capacity Lab Benche with Shelves
Light-duty: ≤100 kg/shelf (for glassware).
Heavy-duty: ≥200 kg/shelf (for spectrometers, centrifuges).
Certification: Check ISO 9001 test reports.
2. Shelf Adjustability
Fixed: Cheaper but inflexible.
Adjustable: 50mm height increments.
3. Corrosion Resistance
Epoxy coating: Affordable for most labs.
Stainless steel: 10+ years lifespan (higher cost).
4. Safety Features
Anti-slip edges: 3-5mm raised edges.
Splash guards: Transparent acrylic front panels.
5. Accessory Compatibility
Standard: Fits test tube racks/trays.
Custom: Add electrical outlets/gas lines (discuss with suppliers).

四. 4-Step Guide to Installing a Lab Bench with Shelves
Step 1: Mark Positions
Use a laser level (≤2mm error).
Avoid hidden pipes/wires (check lab blueprints).
Step 2: Secure Frame
C-frame: Fix with M10 bolts (torque ≥25N·m).
H-frame: Weld to floor (hire professionals).
Step 3: Attach Worktop
Align and glue seams with structural adhesive.
Step 4: Safety Checks
Stability test: Shake bench (movement <1mm).
Load test: Place 110% max weight for 24h.
五. Maintenance Tips & Warnings for Lab Bench with Shelves
Cleaning:
Weekly: Wipe with pH-neutral cleaner.
Monthly: Tighten loose bolts.
Don’ts:
❌ Cut shelves (damages coatings).
❌ Overload (risks collapse).
Lifespan Boosters:
Apply anti-rust wax yearly.
Use EPDM rubber mats.

六. Laboratory Benches with Shelves Industry Trends 2025
1. Smart Features
Weight sensors: Auto-alert for overloads.
Voice-controlled height adjustment.
2. Eco-Friendly Materials
30% recycled steel (EU standards).
Water-based epoxy coatings.
3. Modular Designs
Snap-fit shelves for easy reconfiguration.
Universal slots for third-party accessories.
七. FAQs About Lab Benches With Shelves
Q1: Can shelves be added later?
Yes, but ensure the table has built-in load-bearing support (plan ahead).
Q2: 750mm or 800mm width?
750mm: Compact labs (easy access).
800mm: Large equipment (requires 80cm+ aisles).